
Description
Learn how to set up a new teacher or substitute Mac efficiently with this step-by-step tutorial. This guide covers essential adjustments, including optimizing Control Center, configuring audio and printer settings, customizing the Dock, and ensuring a smooth browsing experience. Designed to enhance usability and minimize distractions, these best practices help educators get the most out of their Mac. Perfect for tech teams supporting schools and districts!
Mac iOS Version
Sonoma 14.7.4
Contributors

Jay Rockensock
Founder & President of Rockensock.org

Coming Soon
Gmail Signature
iMac
Walks you through creating a basic email signature in Gmail, covering everything from text formatting to inserting a logo. It explains how to manually set up a signature, adjust settings, and ensure proper formatting for a professional look. The tutorial also includes tips on adding clickable links for phone numbers and emails, making communication more efficient.
Tutorials
#
14
18m

Coming Soon
Control Center
iMac
Unlock the power of your Mac with Control Center - effortlessly toggle essential settings, customize your menu bar, and streamline your workflow with just a click."
Tutorials
#
12
7m

Coming Soon
Bluetooth Sound (Frontrow)
iMac
Enhance your classroom audio with Frontrow Bluetooth for crystal-clear sound, while mirroring to your Apple TV.
Tutorials
#
11
16m

Coming Soon
Print in Color
iMac
Learn simple steps to print in color, higher quality, and create presets for efficient time-saving on the imac.
Tutorials
#
10
11m

Coming Soon
Launching Files in Different Programs
iMac
Learn how to open files in different programs effortlessly for better printing results and smoother workflow.
Tutorials
#
9
3m

Coming Soon
Youtube Fullscreen
iMac
Smartboard
iPad
Curious about a distraction-free YouTube experience? Let's explore together in fullscreen mode!
Tutorials
#
8
4m

Coming Soon
Move Folder onto Doc
iMac
This tutorial offers quick and easy methods to add the download folder to your Mac dock.
Tutorials
#
7
3m

Coming Soon
Google Chrome Shortcut
iMac
iPad
Create a quick and easy shortcut on your Mac by using Chrome's built-in feature.
Tutorials
#
6
5m
Coming Soon
SMARTBoard Keyboard Shortcut
iMac
Smartboard
Discover how to use a full keyboard on your SMARTboard while being directly connected, simplifying tasks and boosting efficiency.
Tutorials
#
5
2m

Coming Soon
Apple Classroom Overview
iPad
iMac
Unlock iPad control with Apple Classroom, enhancing the classroom experience together! Ready to explore?
Tutorials
#
4
4m
Coming Soon
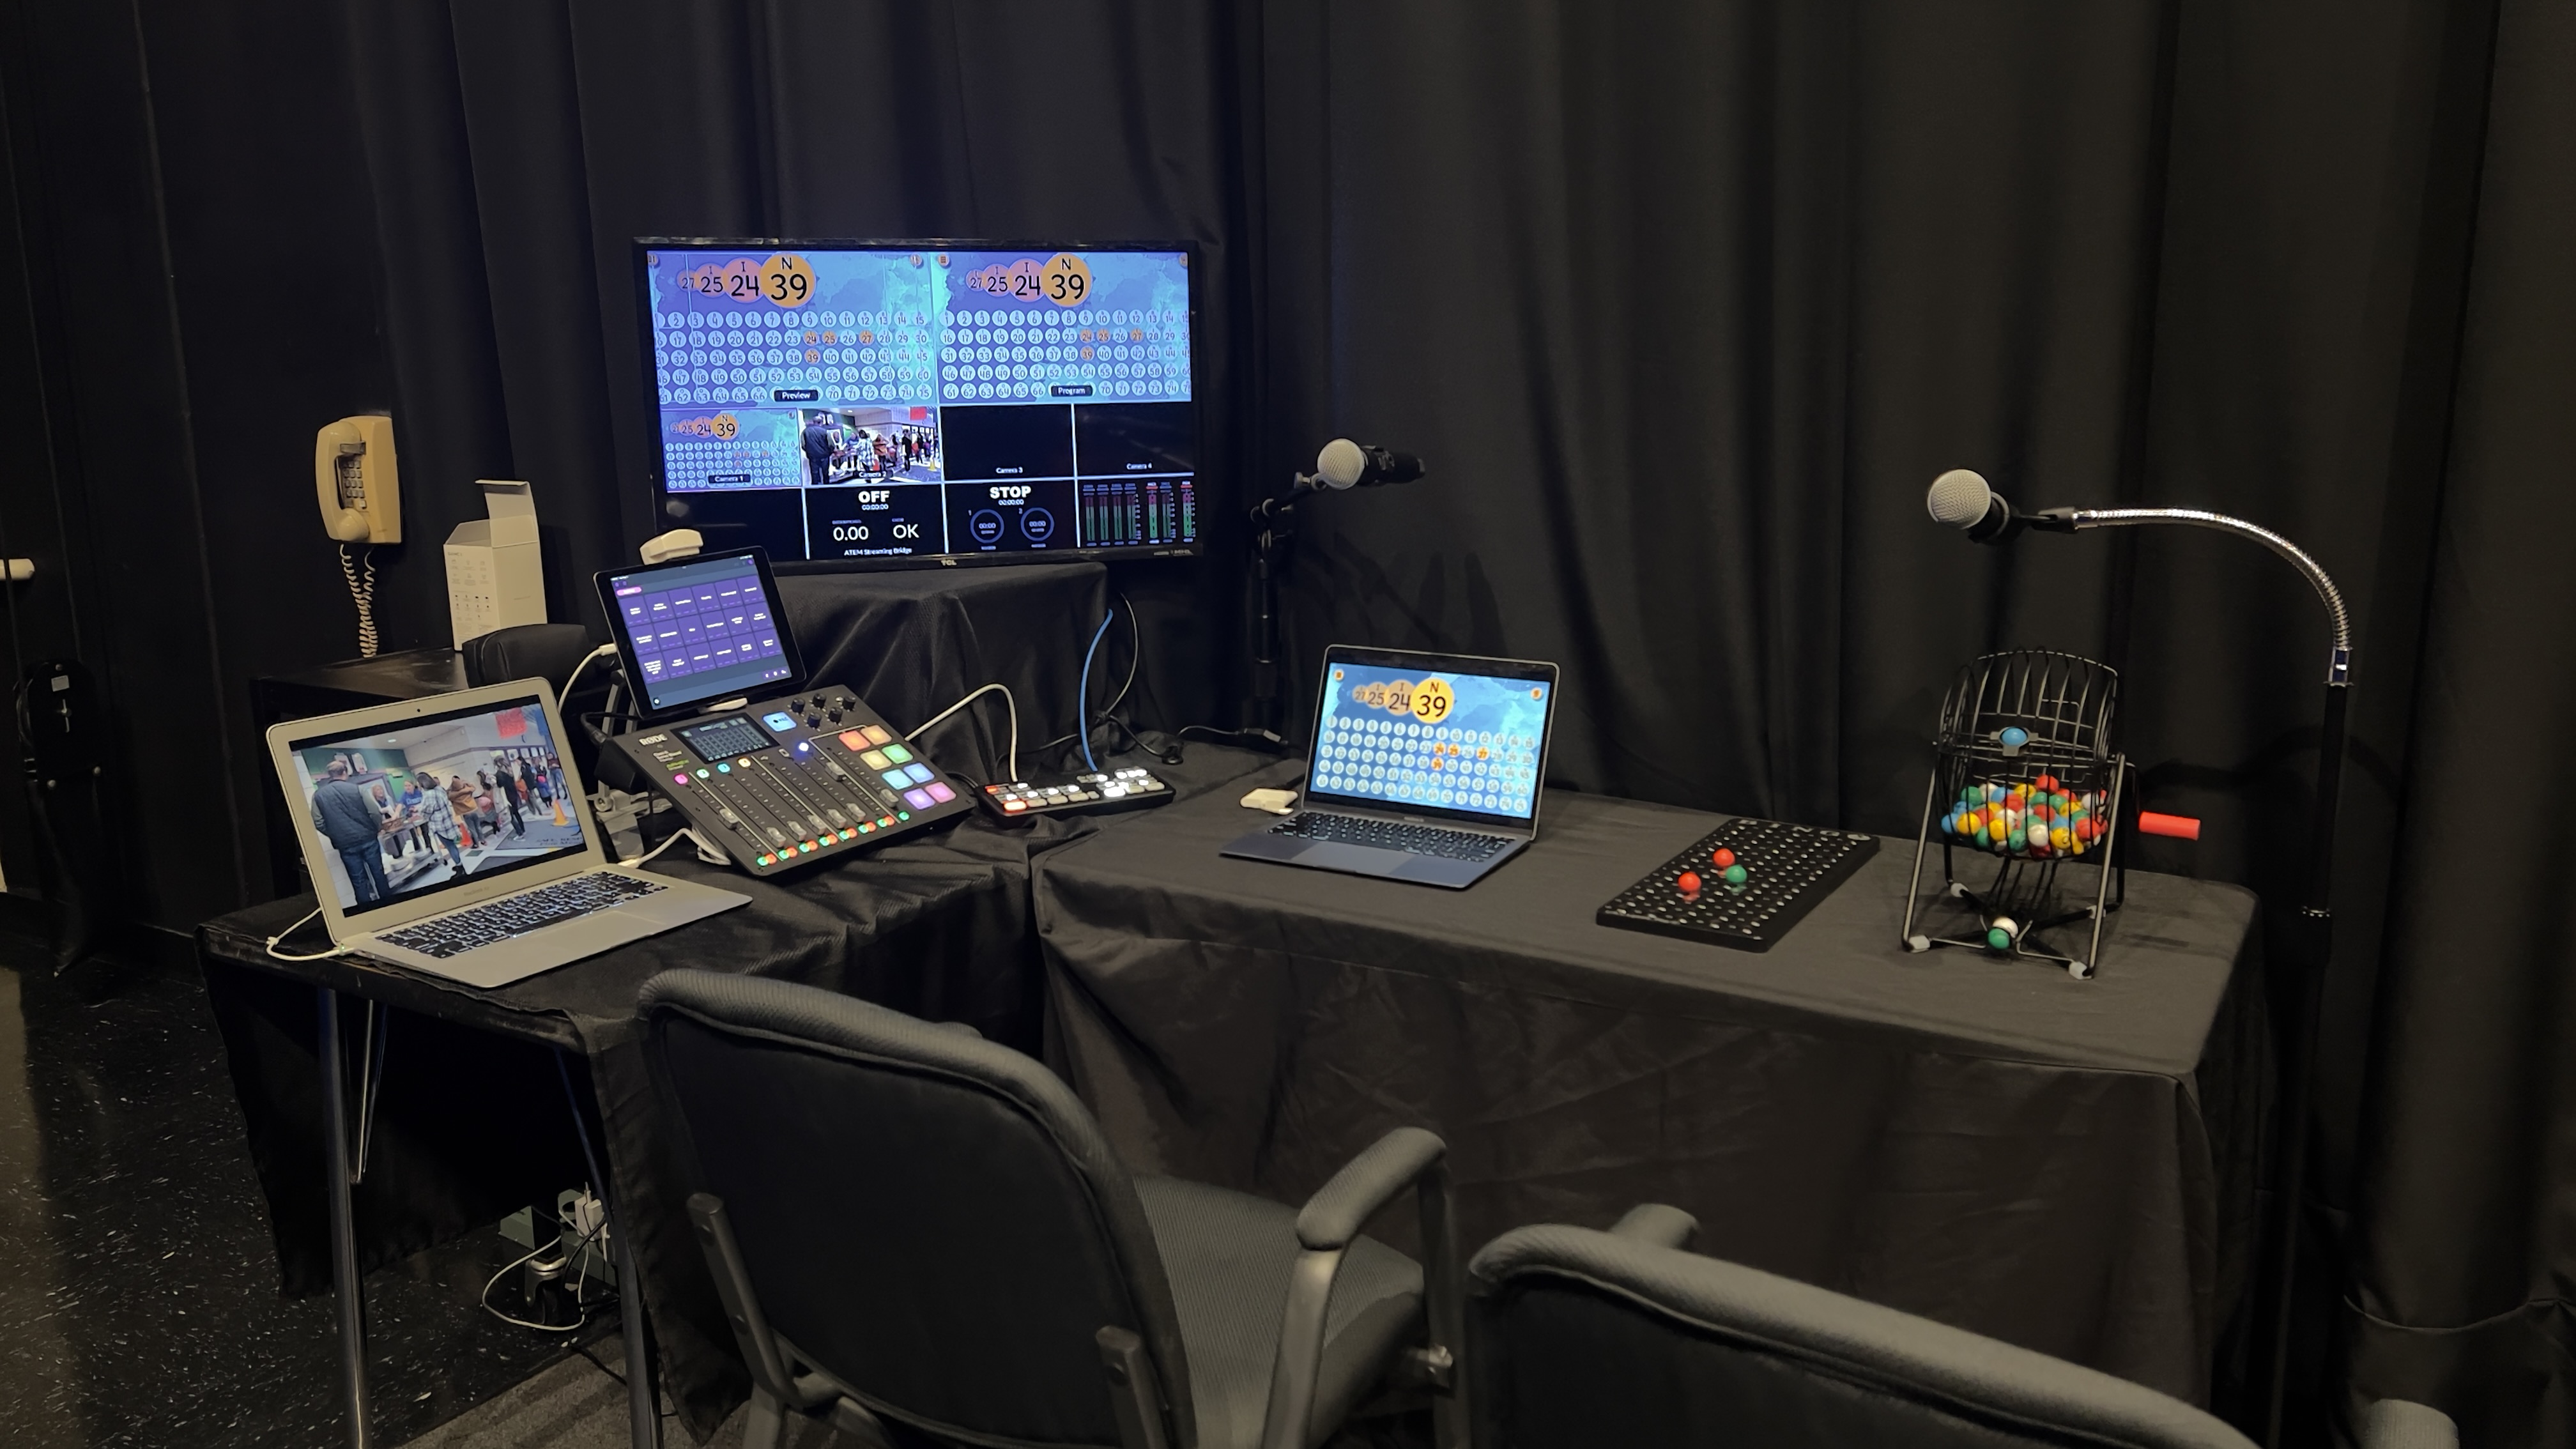
Bingo Caller Directions
iMac
Curious about volunteering for Bingo Night? Our quick tutorial reveals what to expect and helps you choose your role. Find out the exciting responsibilities for Chair A and Chair B – which one will you pick?
Tutorials
#
2
3m